So, the time has come to link your WordPress site with your Google Analytics Global Site Tag (gtag.js) tracking code. This is most commonly achieved by injecting the Global Site Tag (gtag.js) generated in Google Analytics into a HEAD section on your website.
There might be situations where you don’t really want to download yet another WordPress plugin to achieve that. On the other hand, you probably don’t want to simply paste the Tracking Code directly into your header.php as it’ll probably get wiped out when you update your theme in the not so distant future.
So what can we do in such case? Answer is simple, write your own lightweight plugin that will always persist your gtag.js code no matter what happens to your WordPress site. And best of all, it can be achieved in four simple steps, as defined below.
Step 1 – Pre-Requisites
Before we jump into the code, we need to check one setting on your WordPress installation. This is important as it’ll allow to execute your plugin and this is normally configured in WordPress by default. But let’s check this just in case…
- Navigate to the Administration side of your WordPress site.
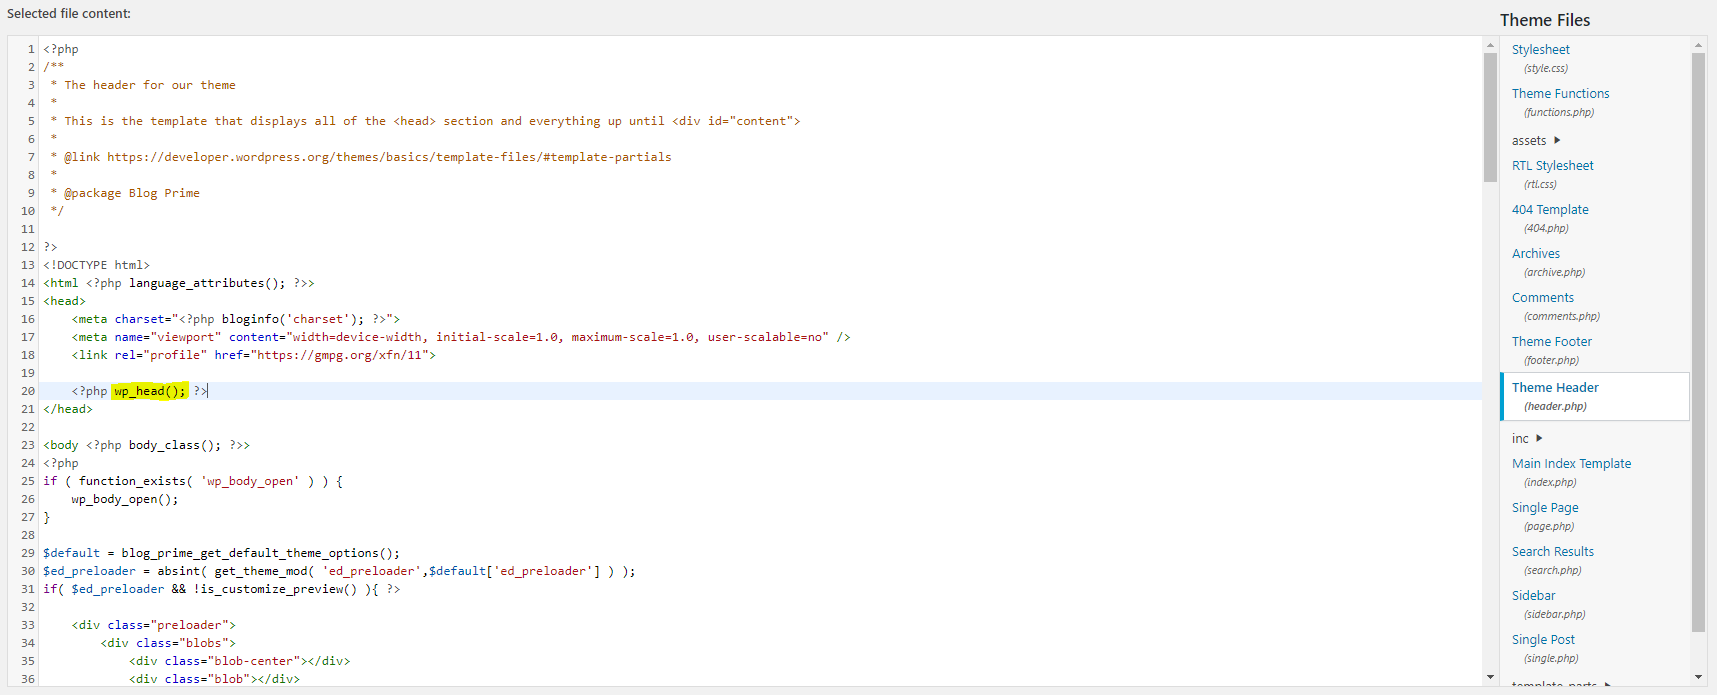
- Click Appearance => Theme Editor.
- A list of Theme Files will open on the right side of the screen.
- Find Theme Header (header.php) file and click it.
- Confirm wp_head hook is referenced inside of the file, as per picture below.
Step 2 – Writing Code
OK, now the pre-requisite is done, let’s move our attention to the actual Google Analytics Global Site Tag (gtag.js) plugin for the tracking.
To write the plugin, you’ll need an editor, such as Visual Studio Code or Notepad++ where we’ll be creating a PHP file.
- Open the editor and create new PHP file.
- Paste the following code snippet into your file.
<?php
/*
Plugin Name: My Google Analytics Plugin
Plugin URI: https://mysite.com
Description: Add the Google Analytics tracking code to your site header.
Author: Me
Version: 1.0
*/

 function qu_google_analytics() { ?>
    <!-- Global site tag (gtag.js) - Google Analytics -->
    <script async src="https://www.googletagmanager.com/gtag/js?id=XXXXXXXXXXXXX"></script>
    <script>
      window.dataLayer = window.dataLayer || [];
      function gtag(){dataLayer.push(arguments);}
      gtag('js', new Date());

      gtag('config', 'XXXXXXXXXXXXX');
    </script>
  <?php
  }

add_action( 'wp_head', 'qu_google_analytics', 10 );- Replace comments at the top with your information and most importantly, paste your Google Analytics tracking code where the XXXXXXXXXXXXX placeholders are.
- Give the file a name my-google-analytics-plugin.php and save it.
Step 3 – Installing your Plugin
Once you have your my-google-analytics-plugin.php saved, you’ll need to install it into WordPress plugins store. Let’s do this next.
If you host your site on Windows IIS the chances are you will find the following folder structure the root of your site’s file system (picture below).
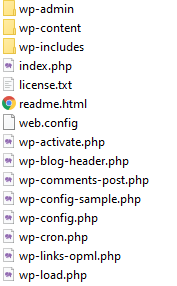
- Navigate to your site’s file system using your preferred FTP client, such as FileZilla.
- Find wp-content folder, then inside go into plugins.
- Inside plugins create a folder for your Google Analytics plugin, maybe something like this my-google-analytics-plugin.
- Copy your plugin my-google-analytics-plugin.php file into that folder.
Step 4 – Activating and Using your Plugin
Finally, it’s time to start tracking visits to your WordPress site with Google Analytics. All we have to do now it to activate your plugin.
- Login to your WordPress Administration suite.
- Navigate to Plugins => Installed Plugins.
- Find your plugin My Google Analytics Plugin and click Activate.
- Now you site is ready to sent traffic information to Google Analytics.
If you are serious about Search Engine Optimisation (SEO) on your WordPress site then you’d also want to make sure your WordPress site is always serving content over HTTPS protocol.
Read one of my other posts explaining How to redirect HTTP to HTTPS on WordPress.